
Bomber Fleet
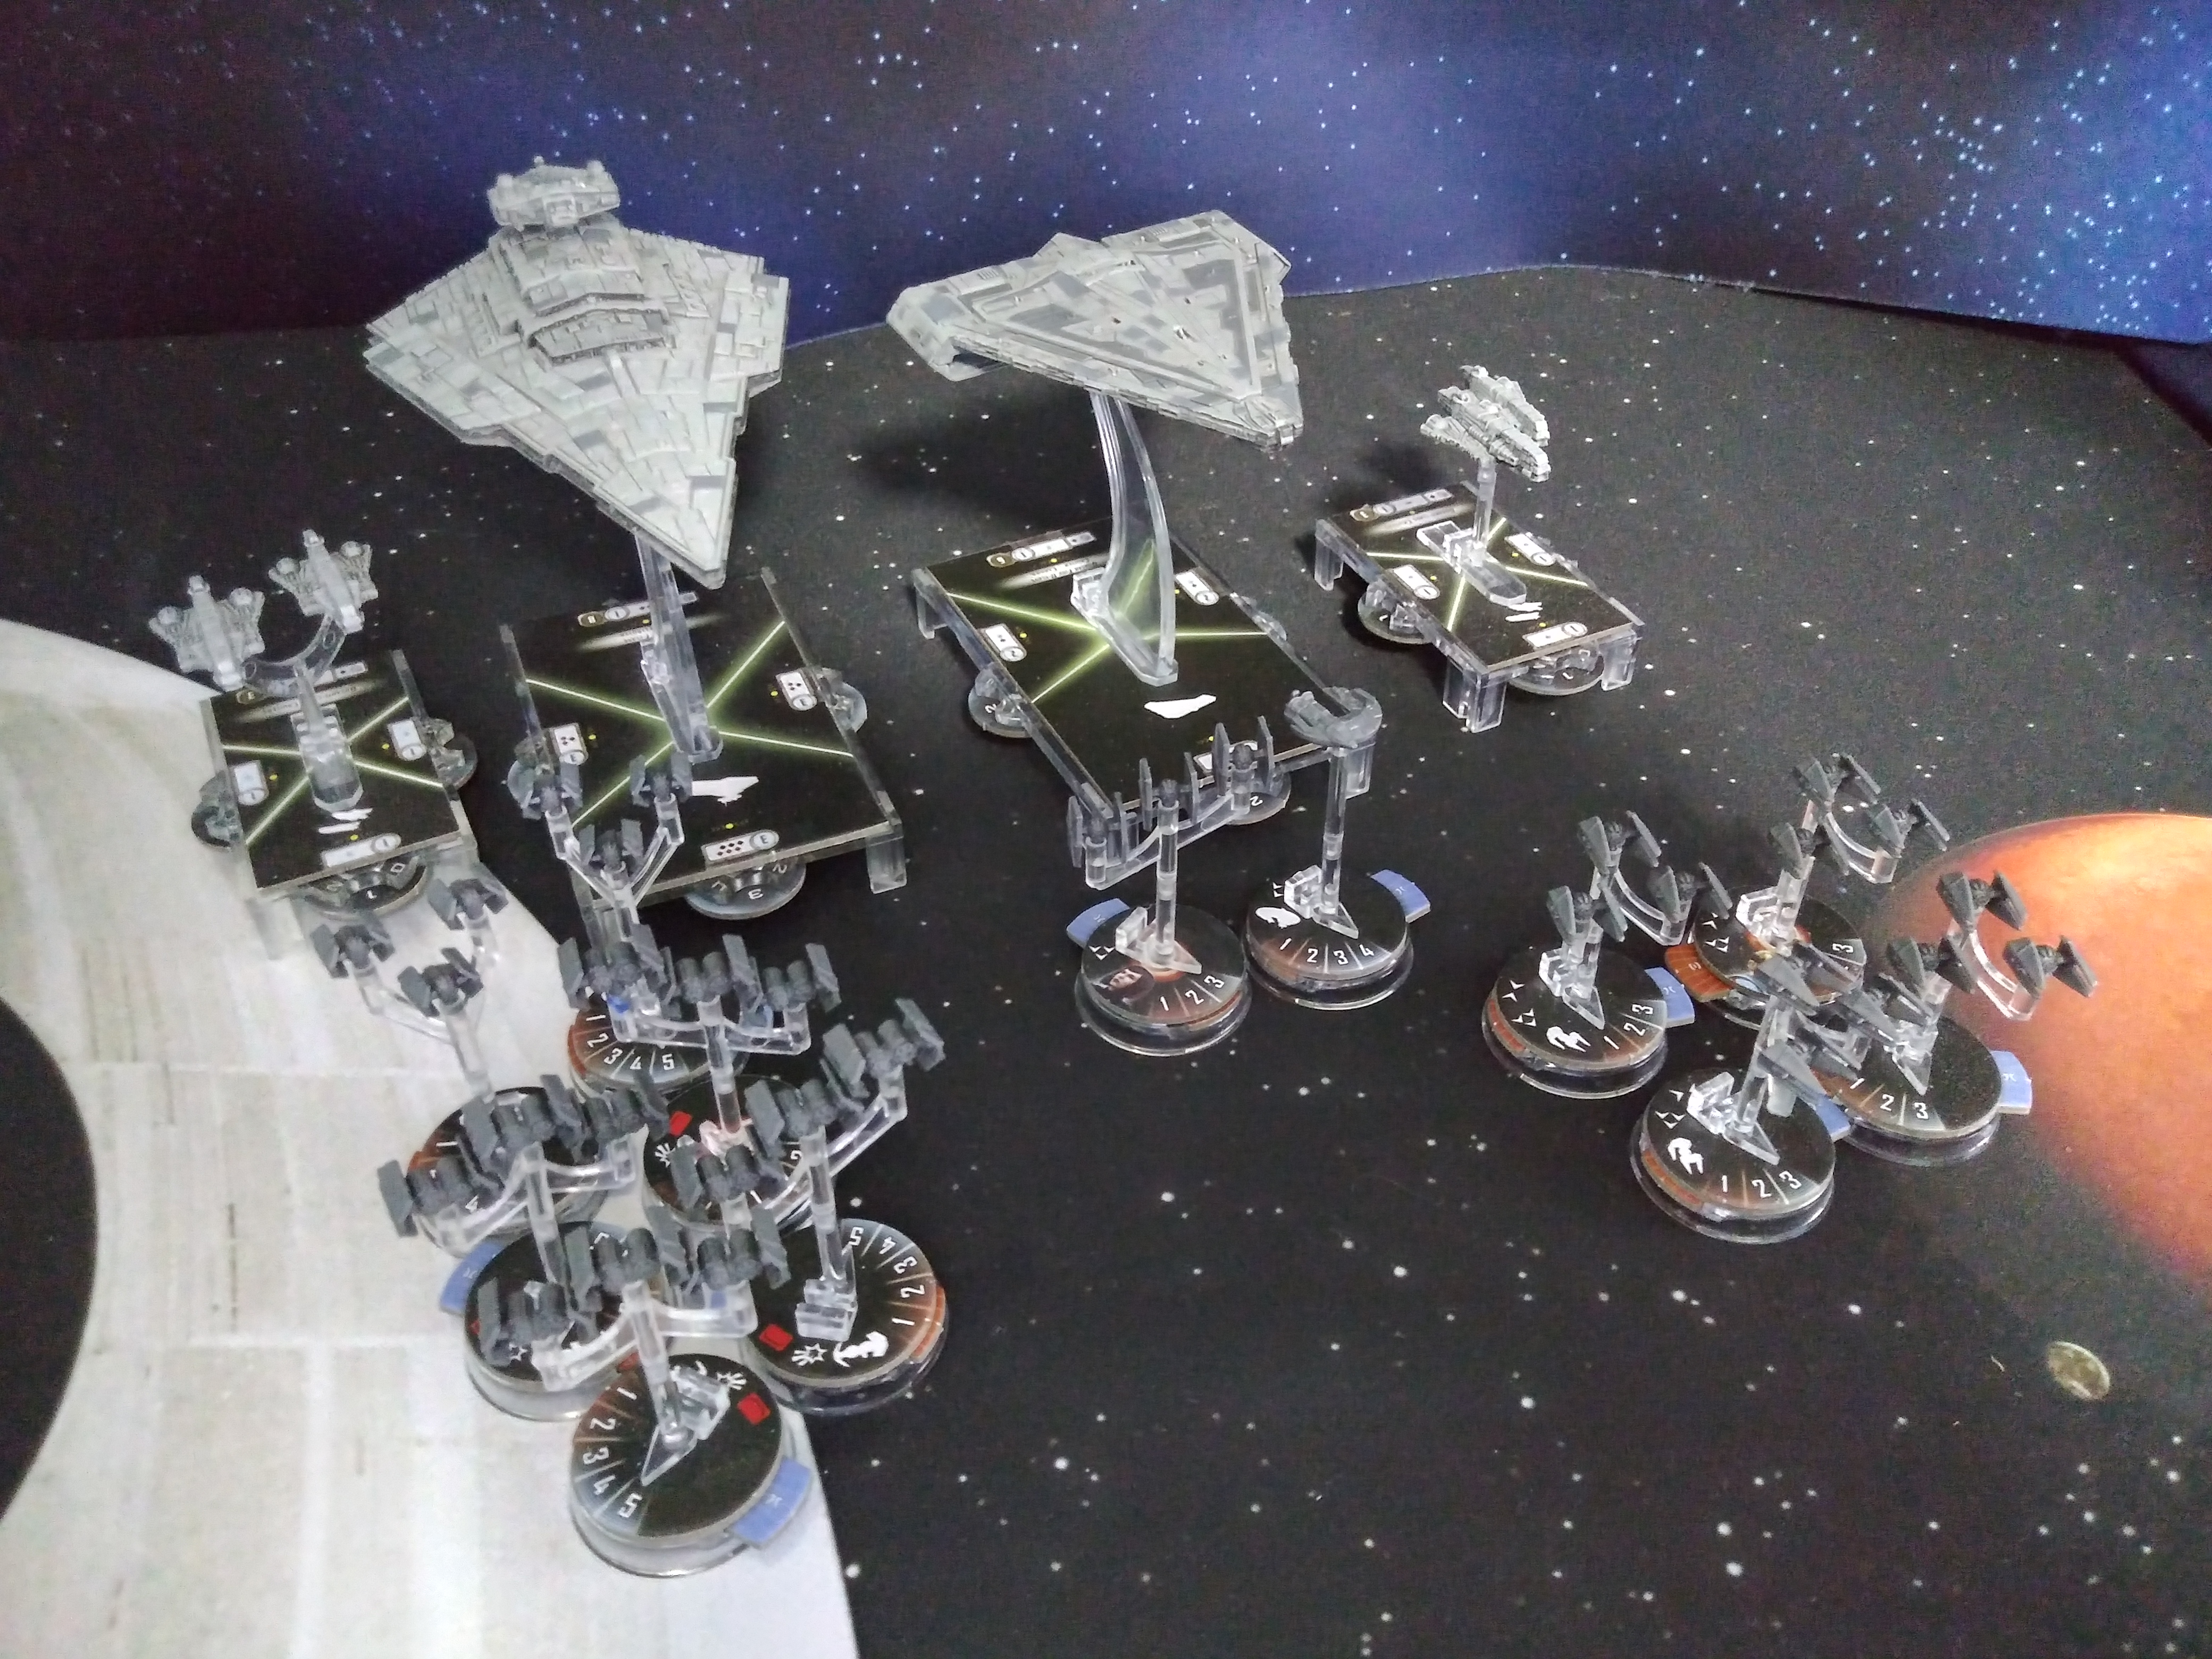
Fear the screech and explosions of TIE Bombers flying over your ships and reducing them to space debris! This is my take on a squadron heavy fleet that I am itching to get into the action. Posted is my fleet list below, built in Ryan Kingstons Fleet Builder:
Name: Bombers!
Faction: Imperial
Commander: Admiral Piett
Assault: Precision Strike
Defense: Fighter Ambush
Navigation: Superior Positions
Victory I (73)
• Admiral Piett (22)
• Wulff Yularen (7)
• Flight Controllers (6)
• Reserve Hangar Deck (3)
• Linked Turbolaser Towers (7)
• Corrupter (5)
= 123 Points
Quasar Fire II (61)
• Agent Kallus (3)
• Ruthless Strategists (4)
• Flight Controllers (6)
• Boosted Comms (4)
• Squall (3)
= 81 Points
Gozanti Cruisers (23)
• Bomber Command Center (8)
• Reserve Hangar Deck (3)
= 34 Points
Gozanti Cruisers (23)
• Comms Net (2)
• Reserve Hangar Deck (3)
= 28 Points
Squadrons:
• 4 x TIE Interceptor Squadron (44)
• 6 x TIE Bomber Squadron (54)
• Howlrunner (16)
• Dengar (20)
= 134 Points
Total Points: 400
This fleet is alot. With a total of 12 squadron activations and using two of the clumsiest navigating ships in the entire game, its going to be a feat of acrobatics. But with 6 TIE Bombers, and a Bomber Command Center Gozanti, ships will melt. I personally havent seen it yet, but that wave of bombers is likely to wipe small ships off the table in one turn, and leave serious damage into larger bases. That damage output (if all of them can get within striking distance with a bomber command center) comes out to 7.25 damage in single packets on average! The Intercepters with Howlrunner and Dengar are used to clear the sky of enemy squadrons quickly, so the bombers can roll up and do their thing.
Both of the Gozantis are there to ressurect a poor Interceptor squadron and give squad pushing power, while one gives token support to the rest of the fleet and the other is the Bomber Command Center that follows the bomber ball to waste enemy ships.
The Victory I is the flagship, carrying Piet and Yularen for token shenanagins. The idea is to take a squadron or navigation token round one, and be supplied the other by the Comms Net Gozanti. Each subsequent round after that, queue up navigation commands or engineering commands (depending on the game state), while using Piett to command his full compliment of Corrupter boosted bombers or Flight Controller boosted Interceptors as well. Yularen brings that squadron token back each round so the shenanigens can continue.
The Quasar II is the crux and actually the origin point I had for this fleet. I knew I wanted to push alot of squads, and the Quasar is the perfect fit for that. I picked the Quasar II because of the red dice flak, which by itself might not do much, but with Ruthless Strategits and Agent Kallus, the damage starts to add up quickly. This lends itself even more to blasting squadrons out of the sky, even faster.
At 400 points, it is not likely that I will get the bid with this fleet, which is fine, because I am set up if I get first or second player. If I'm first player, I get to have an alpha strike upon enemy squadrons. If I am second, my objectives lean themselves to your standard squadron heavy lists. Precision Strike to get those victory points from your bomber strikes. Fighter Ambush gets some control of the battlefield before the fight even starts. Superior Positions lends itself to squadrons through multiple attacks to the rear, which add up quickly!
The main idea of this fleet is to win the squad battle as fast as possible. Usually this involves sending a bomber first into the opposing squad ball, using it to trigger swarm for all the Interceptors and being a good meat shield for Ruthless Strategists. Once the sky is clear, the sky will redarken with your bombers laying waste to enemy ships while the Victory Star Destroyer lays the heavy hitting fire.
I have yet to try this fleet, and it is currently gathering dust in my dockyard, but I am itching to get this one on the table.