
Imperial Remnants
Three Warlords, each thown into chaos after the destruction of the second Death Star, struggle for power and turn against their former friends.
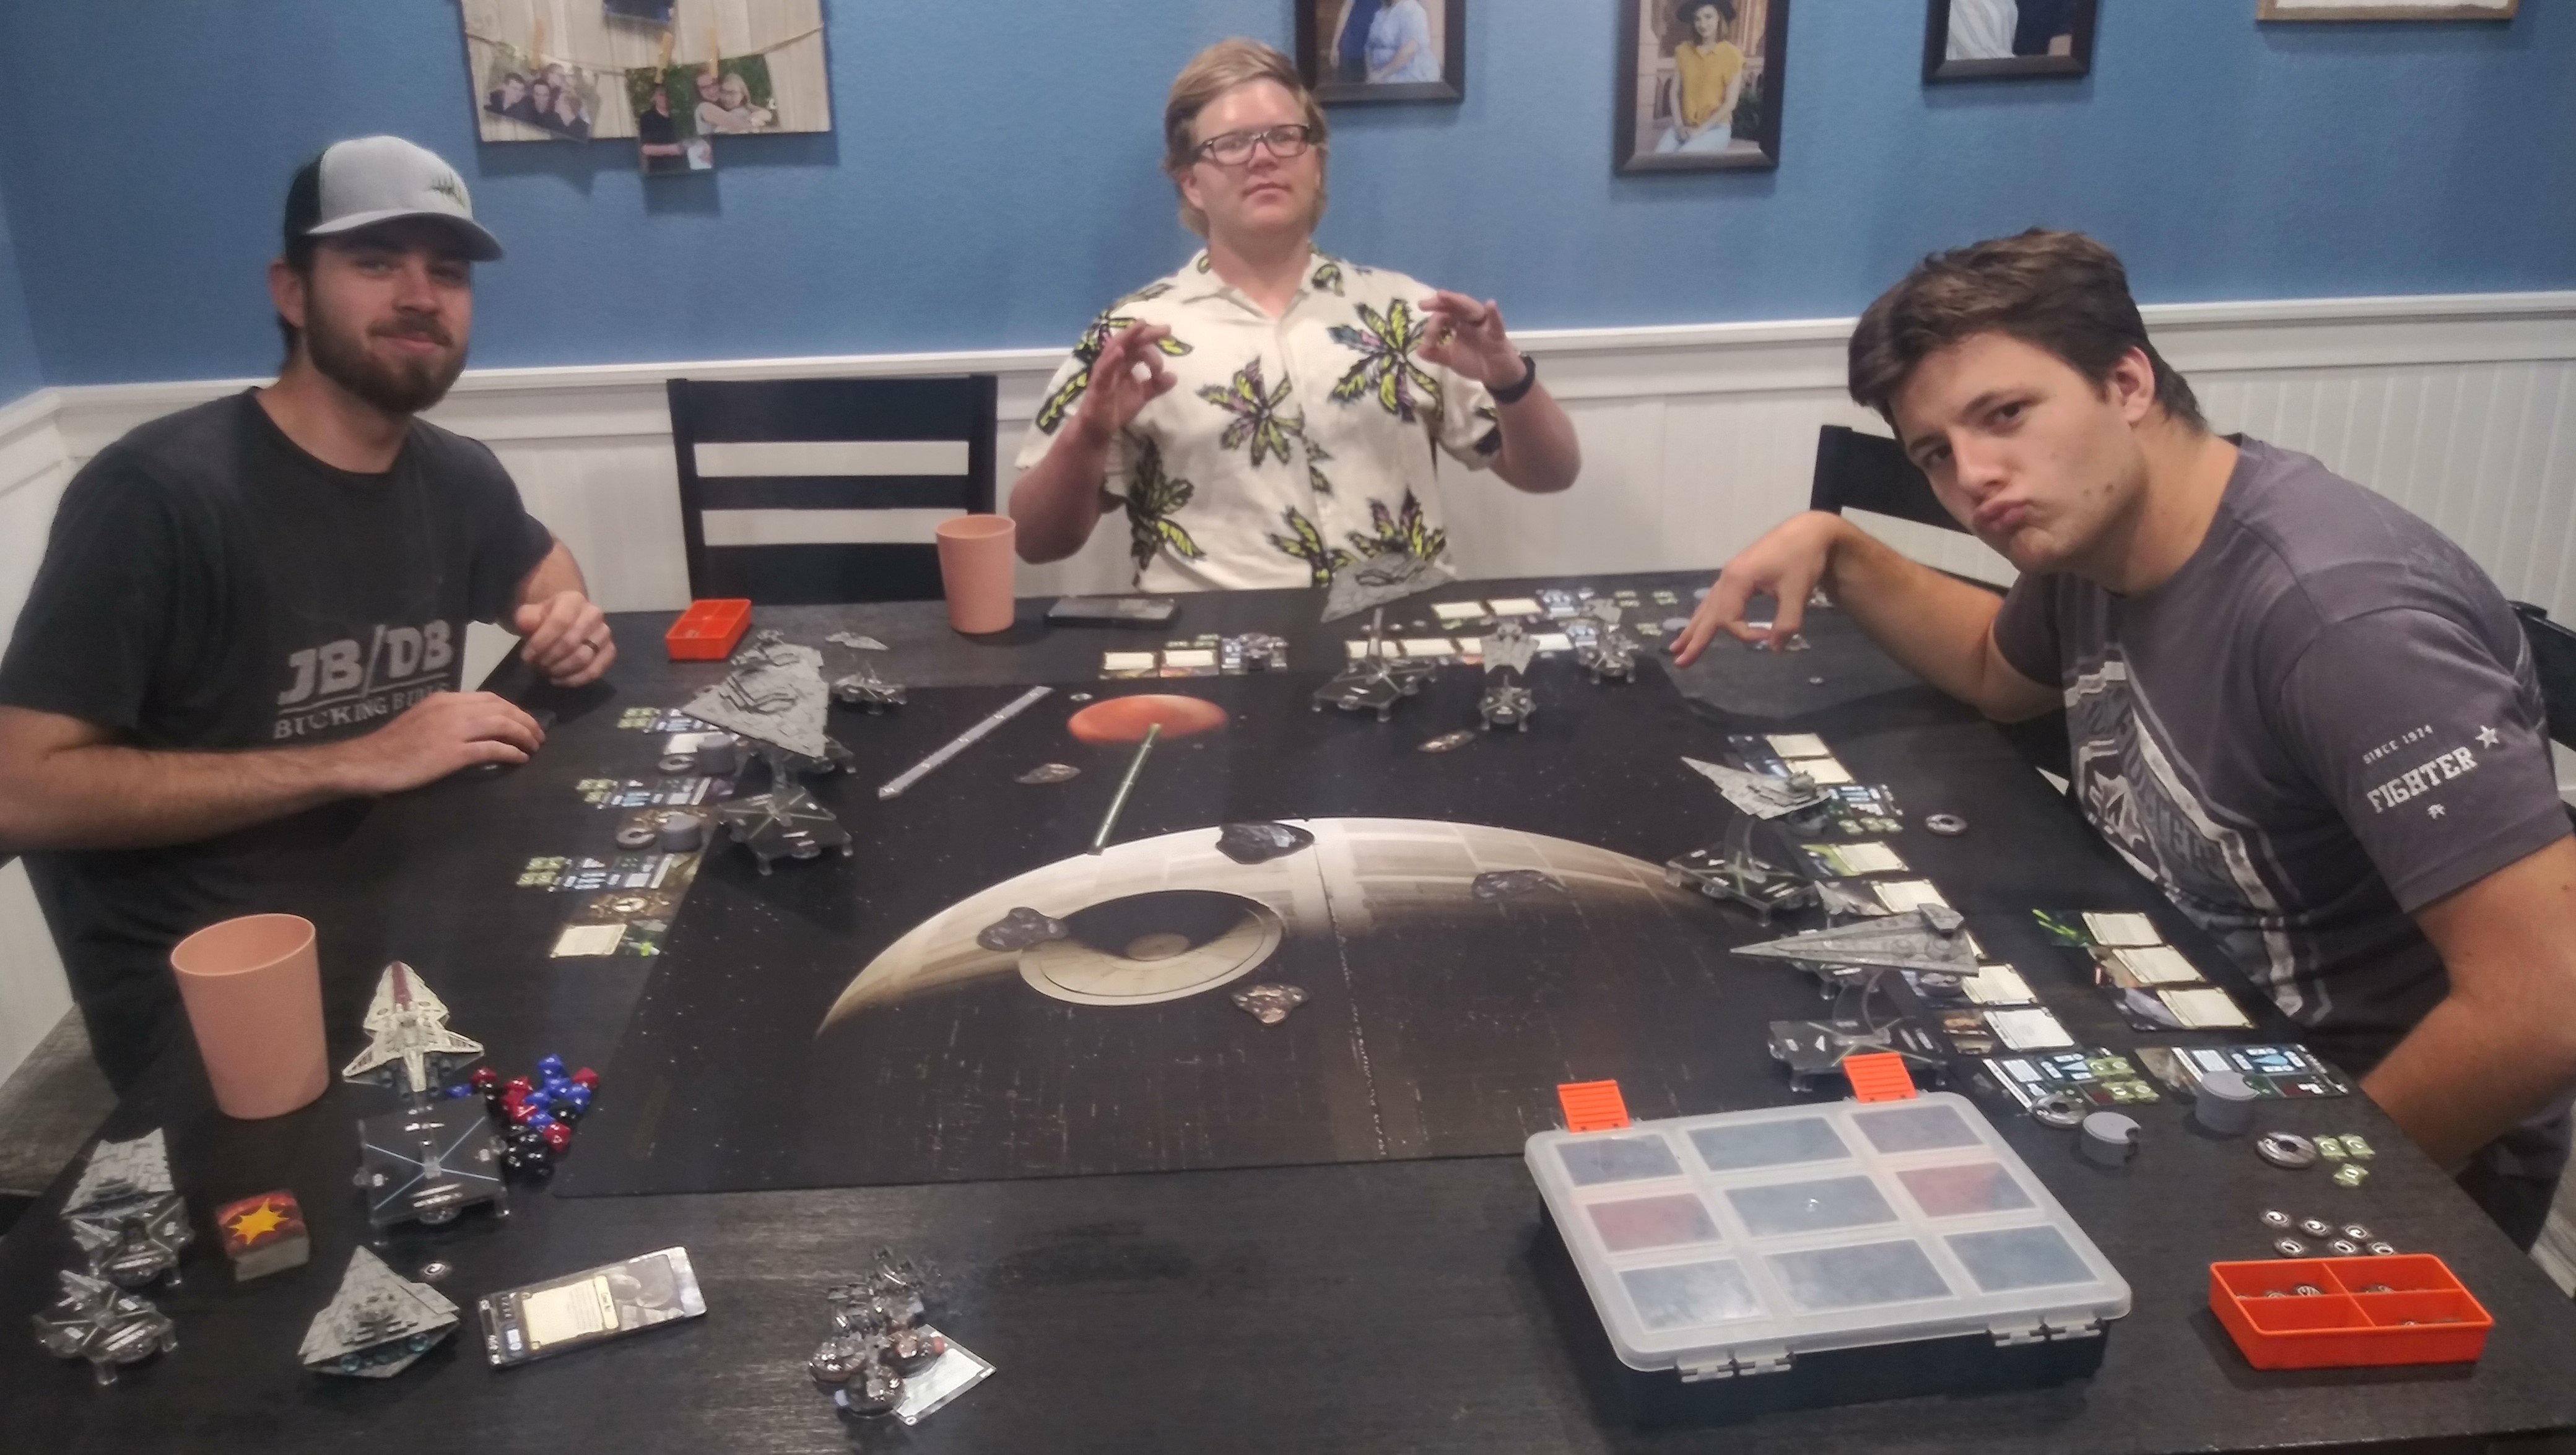
This was an introductory game for some friends of mine. I havent gotten their permission yet to give their names, so I have them under the aliases of General Stone, Commandant Net and Captian Worth. This was their first time playing Armada, so I created a modified game to teach them the basics. I had some 300 pt lists ready for them, and we played without objectives or squadrons. We also alternated first player, because we played with 3 people. Let me show you the fleets.
General Stone's Fleet
Commander: General Romodi
ISD Cymoon 1 Refit (112)
• General Romodi (20)
• Gunnery Team (7)
• Linked Turbolaser Towers (7)
= 146 Points
Arquitens Light Cruiser (54)
• Linked Turbolaser Towers (7)
= 61 Points
Victory II (85)
• Linked Turbolaser Towers (7)
= 92 Points
Squadrons:
= 0 Points
Total Points: 299
Commandant Net's Fleet
Commander: Admiral Screed
ISD Kuat Refit (112)
• Admiral Screed (26)
• Intel Officer (7)
• Ordnance Experts (4)
• Reinforced Blast Doors (5)
• Leading Shots (6)
• Assault Proton Torpedoes (4)
= 164 Points
Arquitens Light Cruiser (54)
• Reinforced Blast Doors (5)
• Linked Turbolaser Towers (7)
= 66 Points
Gladiator I (56)
• Ordnance Experts (4)
• Assault Proton Torpedoes (4)
= 64 Points
Squadrons:
= 0 Points
Total Points: 294
Captain Worth's Fleet
Commander: Admiral Motti
Interdictor Suppression Refit (90)
• Admiral Motti (24)
• Taskmaster Grint (5)
• Projection Experts (6)
• Targeting Scrambler (5)
• Interdictor (3)
= 133 Points
Victory II (85)
• Disposable Capacitors (3)
• Spinal Armament (9)
• Leading Shots (6)
= 103 Points
Raider II (48)
• Weapons Battery Techs (5)
• Heavy Ion Emplacements (9)
= 62 Points
Squadrons:
= 0 Points
Total Points: 298
Turn 1
It started with a slow roll, with General Stone's fleet flying down the right side of his deployment zone. Commandant Net's Kuat took the charge, by barreling towards Stone's Arquiten. He then split his forces by splitting his Gladiator and Arquitens toward Captain Worth's fleet. Worth's fleet struggled with bad deployment, but aimed his Raider and Victory toward Net's Gladiator and Arquitens, and his Interdictor towards Stone's Cymoon. It turned into a stand off, with all poised for attack, and all had guns facing each enemy.
Turn 2
Commandant Net's Kuat started turn 2 in a explosive manner, firing into Stone's Arquiten and Victory. This severly wounded the Arquiten. General Stone fired back, and in a move of desperation, forked his Arquiten toward the Kuat, sealing its fate. Captian Worth continued to navigate toward his enemies, but was hindered by the speed of his ships.
Turn 3
Stone's Arquiten and Victory fired desperately into the Kuat, trying to take it down before it destroyed them. It was brought down to 3 hull points left, but it contined standing. It wiped both ships in one activation, and turned in towards hunting the Cymoon. Through activation order and timing, Captian Worth was able to keep his fleet out of combat the entire turn until the very last activation. Net's Gladiator drifted into long range of Worth's Victory, which subsequently used Disposable Capacitors and Concentrated Fire, and rolled a beautiful roll, which blew up the Gladiator in one shot!
We called the game there because it was late and my friends had to leave, but we had a blast, and they learned the basics of Armada. Our favorite part of the night was that very last activation, where the Victory wiped a full health Gladiator in a single shot. I'm sure that they will be back for some more.